Helldiver 2 Super Destroyer - Desk Size
Digital download
• Instant download after purchase
• Lifetime access to updates
super_destroyer_instructions_book_3_high_res.pdf
super_destroyer_instructions_book_2_high_res.pdf
super_destroyer_instructions_book_1_high_res.pdf
super_destroyer_instructions_low_res.pdf
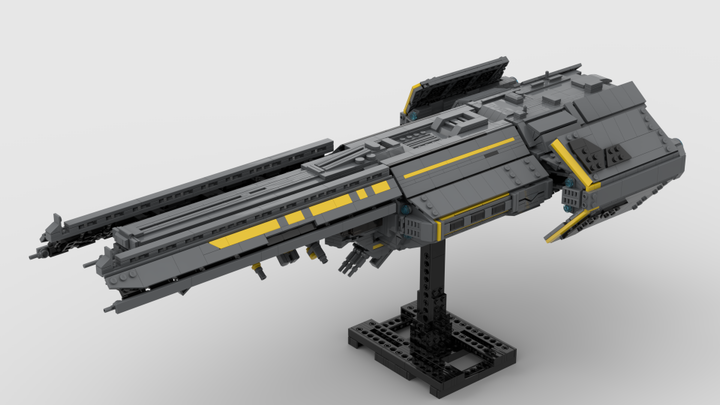
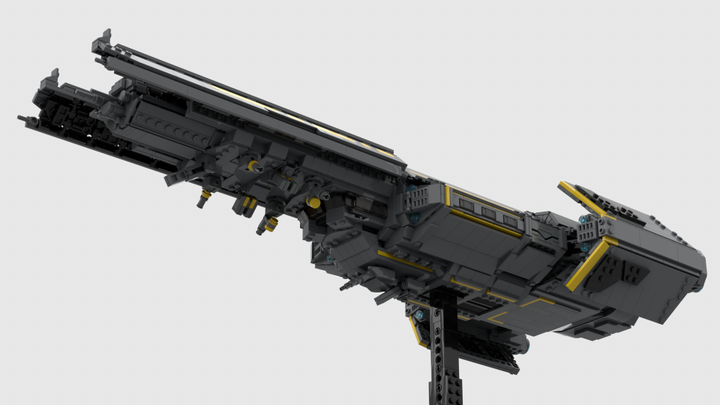
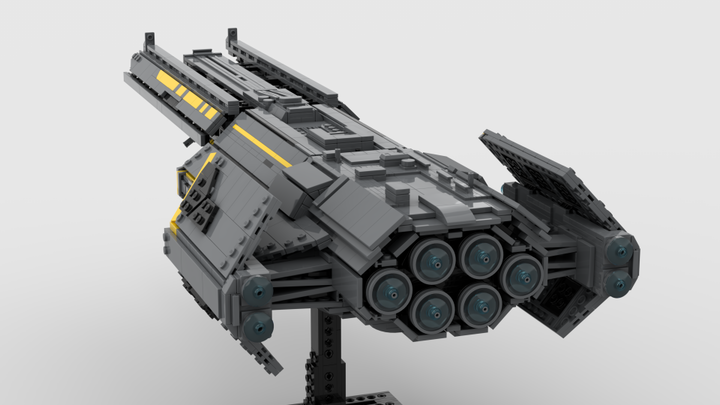
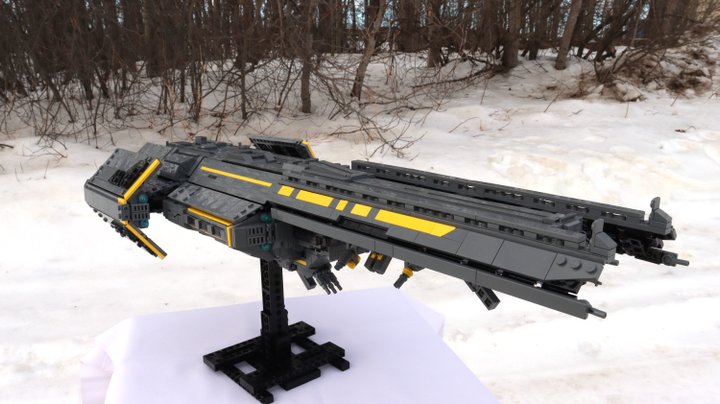
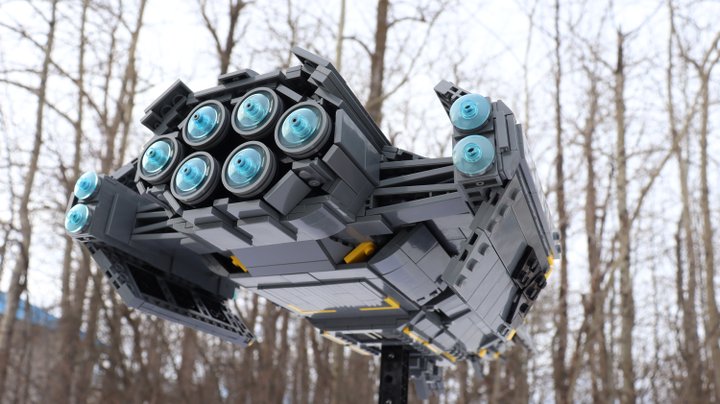
This is a rough 1:290 scaled model of the Super Destroyer from Helldivers 2. Designed and built over many months to ensure the greatest amount of detail, while maintaining structural integrity. Includes all Orbital Cannons upgrades and a removable display stand. This model is “wooshable” but is still a display model; handle with care.
Length: 24”(60cm) Width: 10”(25cm) Height: 5”(13cm), 9”(23cm) with stand.
Instruction Notes:
- Some typically two-part pieces (ex. hinge plates) in the instructions may be shown as two separate pieces. This is because you can not articulate the two parts separately; therefore, they must be two separate pieces in the program. However, the parts list has been modified to include two-part pieces to make ordering easier.
- Some steps have Red and Blue arrows. This implies how best to attach the piece. Red is first, blue is second.
- There are two parts lists. One has all non-visible pieces as light bluish grey (Inside_Grey.xml), the other has the minimum number of unique pieces (Min_Pieces.xml). All light bluish grey pieces may be substituted for other colours (suggest NOT using reddish brown or dark red pieces).
Model Notes:
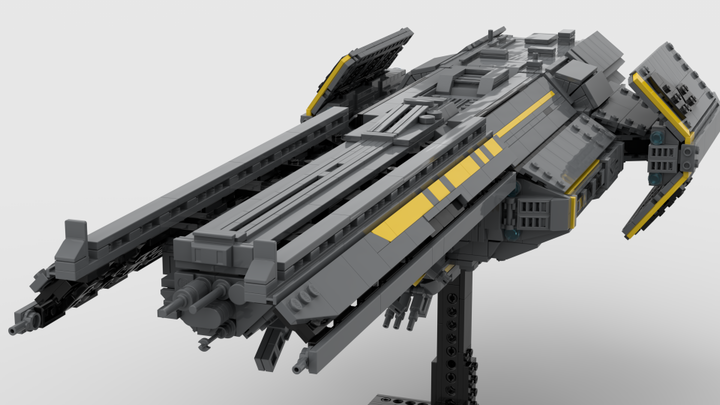
- The Yellow stripes on the front wings can be changed to represent your ship’s name better. NOTE: This may weaken the structural integrity of the wing
- Some steps use STUD techniques in panel pieces. The tightness of these pieces depends on how worn out the panel pieces are. I suggest either buying new panel pieces or ordering extra used panels in case some are loose.
- Some pieces may fall off if the model is inverted after completion.
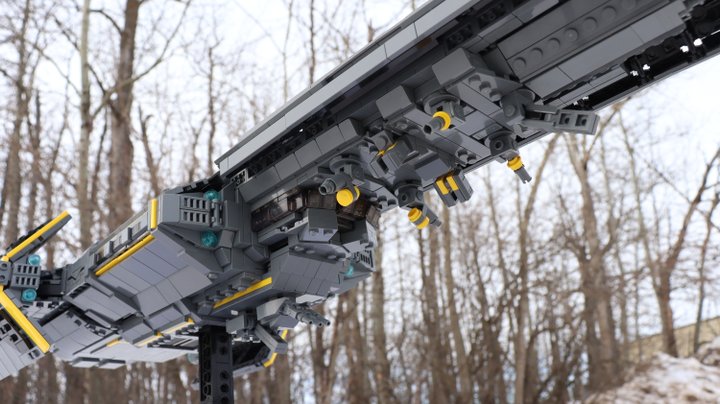
Hellpods are NOT included in the model but can be easily added to exposed studs under the bridge. I suggest using a trans-orange antenna (3957) and 1x1 cone (#4589b) to make them.
Designer Notes:
- This is a difficult build to make with some advanced techniques. This may be too hard for the average Lego builder. I have tried my best to make the instructions as clear as possible.
- This model can be hung. There is room left under the reactor covers to attach pin connectors (32013) to the Technic frame. Fishing line can be looped into the pins and the front-most Technic frame one under the front spine. Some modifications will have to be made to the rear top panel to allow the line to pit before the reactor covers and the top panel, as well as covering up the stand hole. If there is enough demand, I could make a step-by-step guide on making the modifications.
The instructions are for personal use only. Do not resell or redistribute them.